
Create clothing mockups for a brand
A repeatable system for keeping garment color, artwork scale, camera, and background consistent across a clothing collection.
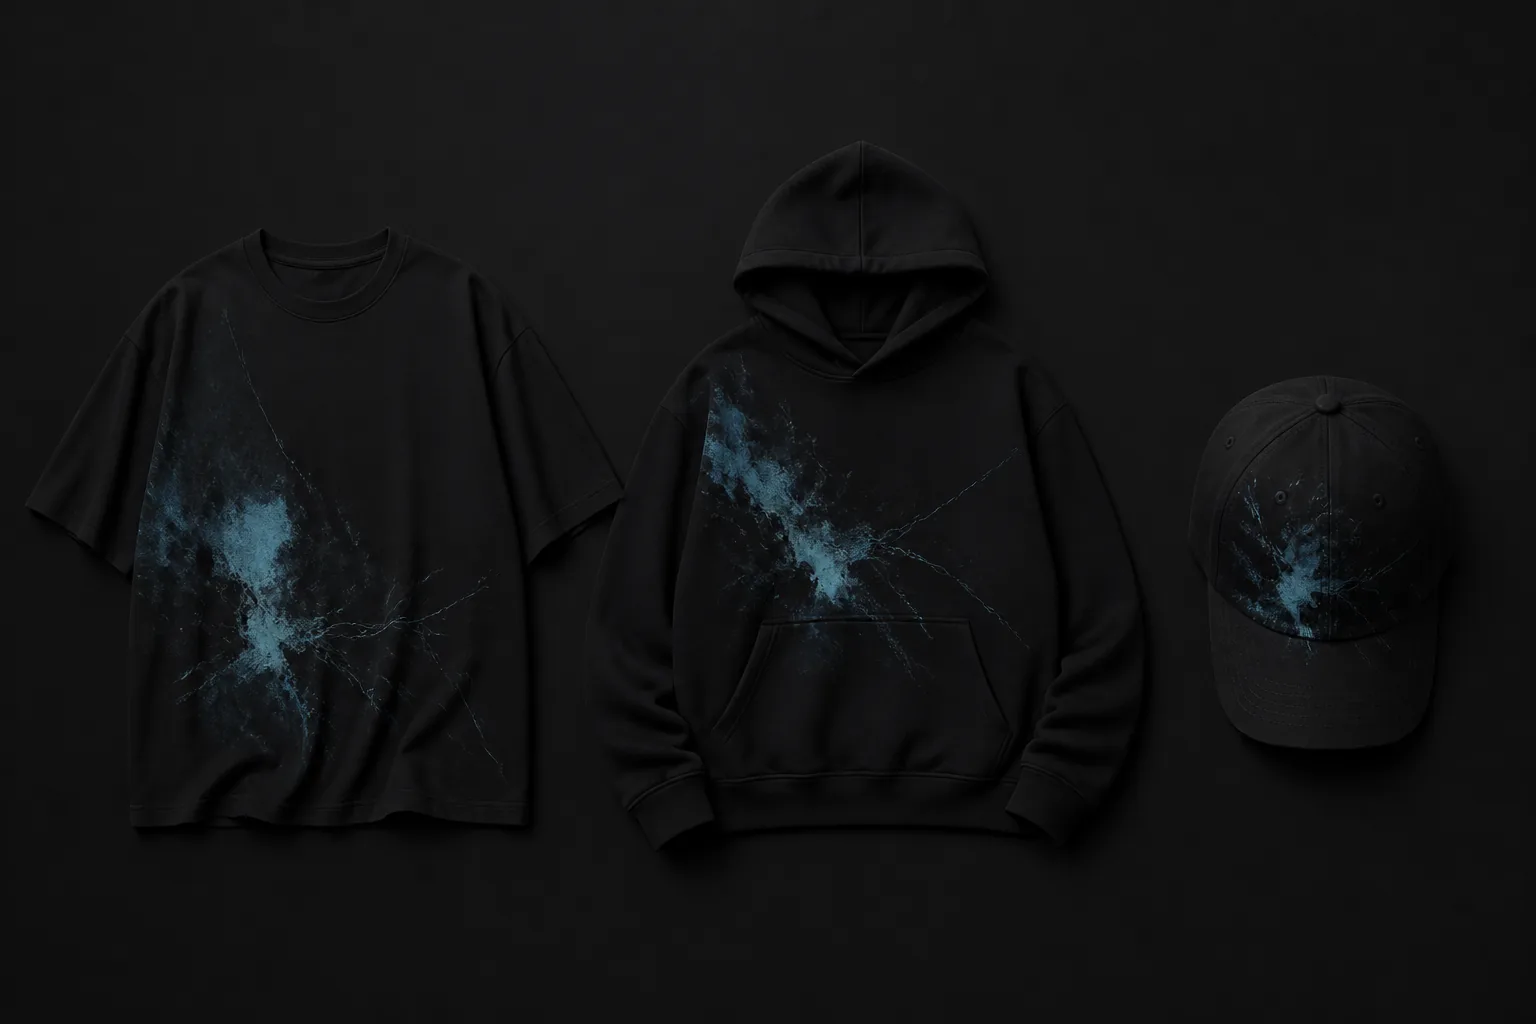
To create clothing mockups for a brand, define a small presentation system before producing individual images. Choose the garment set, decide how artwork should be scaled and positioned, and lock a repeatable camera, lighting, and background direction. Build one reference mockup, review it, then apply the approved decisions to the rest of the collection.
Consistency should make the collection easier to compare, not force every garment into the same composition. A hoodie and a T-shirt have different proportions. Keep the visual rules stable while allowing placement to respond to the garment shape.
Define the collection before making images
List the garments, colorways, and graphics that belong in the review. Remove combinations that are not real candidates. A smaller, intentional matrix prevents a mockup exercise from turning into dozens of images that nobody can compare effectively.
Choose one purpose for the set. An internal design review may use neutral backgrounds and direct angles. A presentation for partners may need more context, but it should still preserve enough consistency to compare the garments.
Create a reference mockup and reusable rules
Approve one garment first and record the decisions that should carry across the set.
Set the artwork relationship
Decide how large the primary graphic should feel relative to the garment and how much empty fabric should remain around it.
Choose a camera family
Use one primary front or three-quarter view and a secondary view only when it explains construction or placement.
Lock lighting and background
Choose a neutral setup that works with the full color range. Avoid a background that supports one garment but weakens another.
Record the exceptions
Note where hoodies, caps, or other silhouettes need a different placement zone. Consistency is a rule set, not a copied coordinate.
Compare the collection in controlled groups
Review one variable at a time. Compare artwork across the same garment color, then compare colorways using the same artwork and camera. If every image changes color, angle, and background at once, the reviewer cannot tell which difference caused the reaction.
Use filenames or an external review sheet to identify garment, color, artwork, and view. Do not place tracking text inside the presentation image unless the review requires it. A clean mockup can be reused after the decision, while labels can remain in the approval system.
Keep brand mockups honest
Use the mockup to communicate design direction, not to imply that an untested product exists. Material weight, stitching, printing, embroidery, dye, and garment fit can differ from a general 3D model. Mark early concepts clearly when the audience could mistake them for final photography.
Before public use, compare the mockup with an approved sample and replace assumptions with verified details. The repeatable system remains useful: it gives the brand a consistent way to present future concepts and update images when physical evidence becomes available.
Questions about this workflow
Should every garment mockup use the same artwork size?
Use the same visual rule, not necessarily the same numeric scale. Adjust for garment width, construction, and placement zone so the artwork feels consistent across different silhouettes.
How many mockups should a clothing collection review include?
Include the smallest set that covers the real decisions: each candidate garment, meaningful colorway, and necessary view. Remove duplicate combinations that do not change the review.