
How to make a hoodie mockup
A hoodie-specific mockup workflow for artwork placement, color review, camera choice, and production handoff.
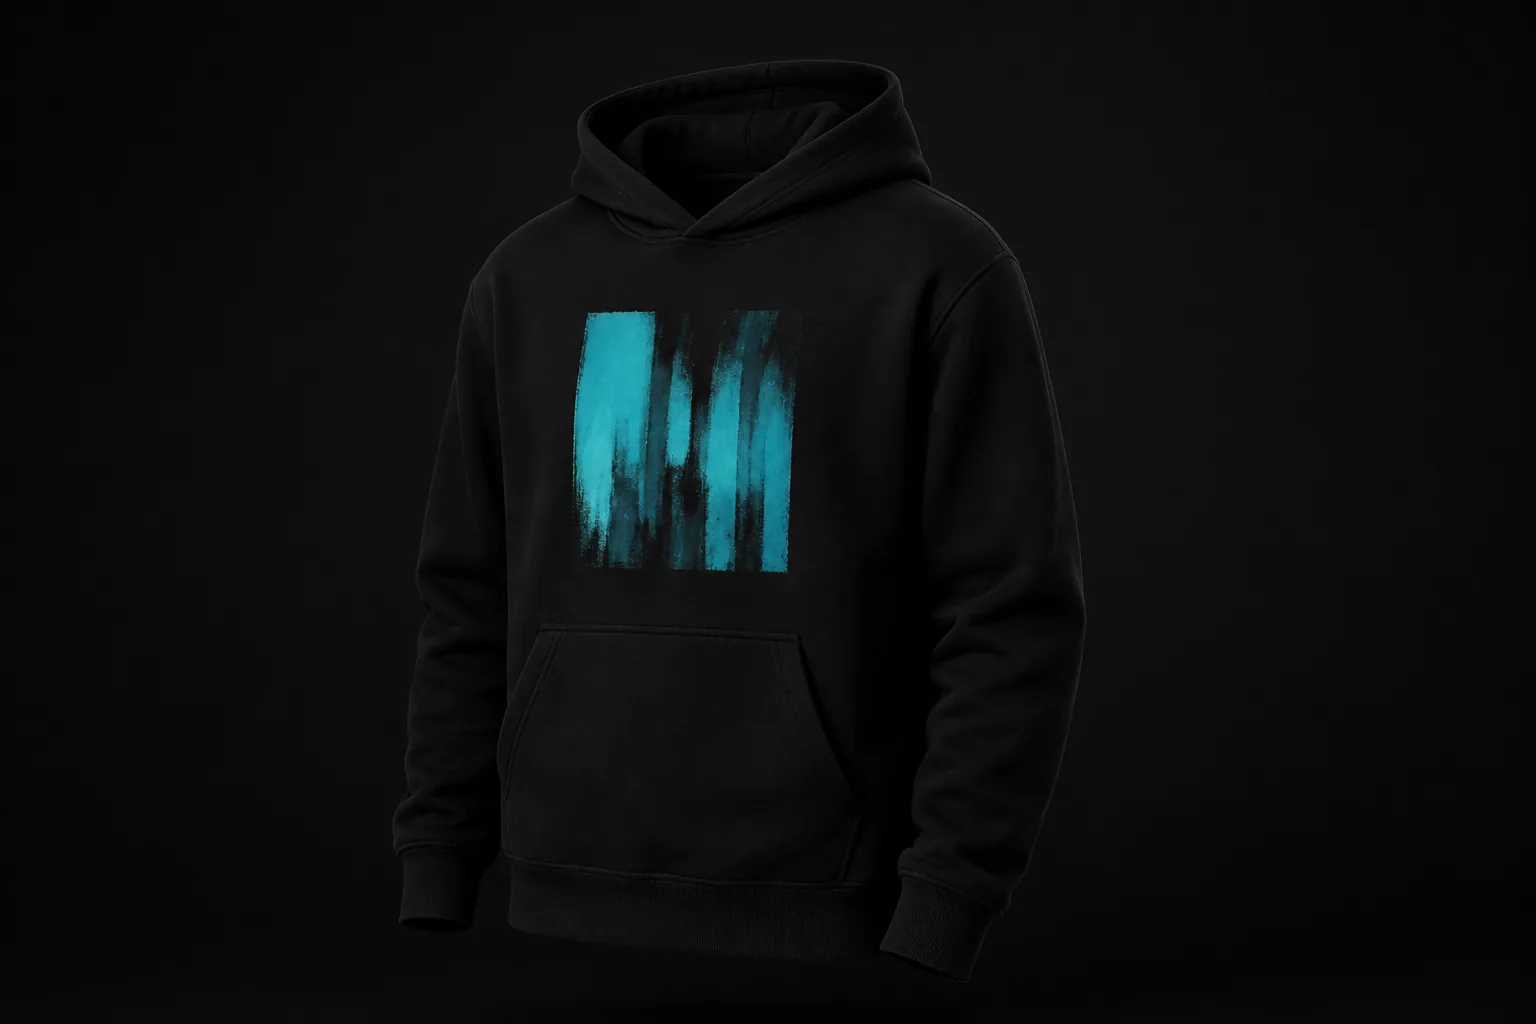
To make a hoodie mockup, choose the hoodie silhouette and color, then place the artwork while watching the pocket, zipper, drawstrings, seams, and natural folds. Review the front view first, rotate to check how the design sits on the garment form, and export a simple angle that keeps both the artwork and hoodie shape clear.
A hoodie has more construction around the printable area than a basic T-shirt. That makes placement review especially useful. The 3D mockup can show whether the design looks crowded or visually low, but the supplier must confirm the exact printable zone and how the fabric behaves.
Choose the right hoodie structure
Start by matching the broad construction: pullover or zip, hood up or down, and the general fit. A front zipper splits the artwork area. A kangaroo pocket reduces the uninterrupted space below the chest. A large hood changes the silhouette and may cover upper-back artwork in some views.
Use the closest model for visual review, then record any differences from the intended product. Do not let a general mockup silently stand in for details such as pocket dimensions, ribbing, panel seams, or fabric weight.
Place artwork around hoodie constraints
Work from the garment construction toward the graphic. This prevents a visually strong placement that cannot be produced cleanly.
Mark the uninterrupted area
Identify the chest region between collar, sleeve seams, zipper, and pocket. Keep important artwork details away from likely construction conflicts.
Set vertical position
Check the distance from the neckline and the pocket. Artwork placed too low can feel compressed against the pocket even when it remains technically visible.
Review folds and perspective
Rotate the hoodie and look for thin lines or small text-like details that disappear as the fabric turns. Simplify or move the design when necessary.
Compare garment colors
Test the real candidate colors using the same camera and light. Judge contrast and overall balance before changing placement.
Use camera and lighting to show the hoodie
A front view explains placement most directly. A three-quarter view shows the hood, sleeves, and volume, but it can distort the apparent width of the design. Use both during review and choose the final presentation angle based on the question the image should answer.
Keep shadows soft enough to preserve dark garment detail. On a black hoodie, the background and rim light should separate the silhouette without turning the scene into a dramatic render that hides the graphic. On a light hoodie, protect highlights so seams and folds remain visible.
Confirm the physical hoodie before production
Ask for the supplier’s printable area, pocket and zipper measurements, fabric composition, and decoration limits. Screen print, transfer, direct-to-garment, and embroidery can each impose different constraints around seams and thick fabric areas.
Use the exported mockup as the visual reference in that conversation. Pair it with the original artwork, exact intended dimensions, and a note about the garment size represented. Approve a sample when the final position or color matters enough that a general preview is not sufficient.
Questions about this workflow
Can artwork overlap a hoodie pocket in a mockup?
It can be shown visually, but many decoration methods cannot cross the pocket seam cleanly. Confirm the construction and print method with the supplier before approving that placement.
Should I mock up a hoodie with the hood up or down?
Use the state that best represents the intended presentation, and check both when artwork sits near the shoulders or upper back. The hood can cover or change how that area reads.