
Make a 3D T-shirt mockup without desktop software
A mobile-first way to prepare a useful 3D T-shirt mockup when you do not need a complex desktop scene.
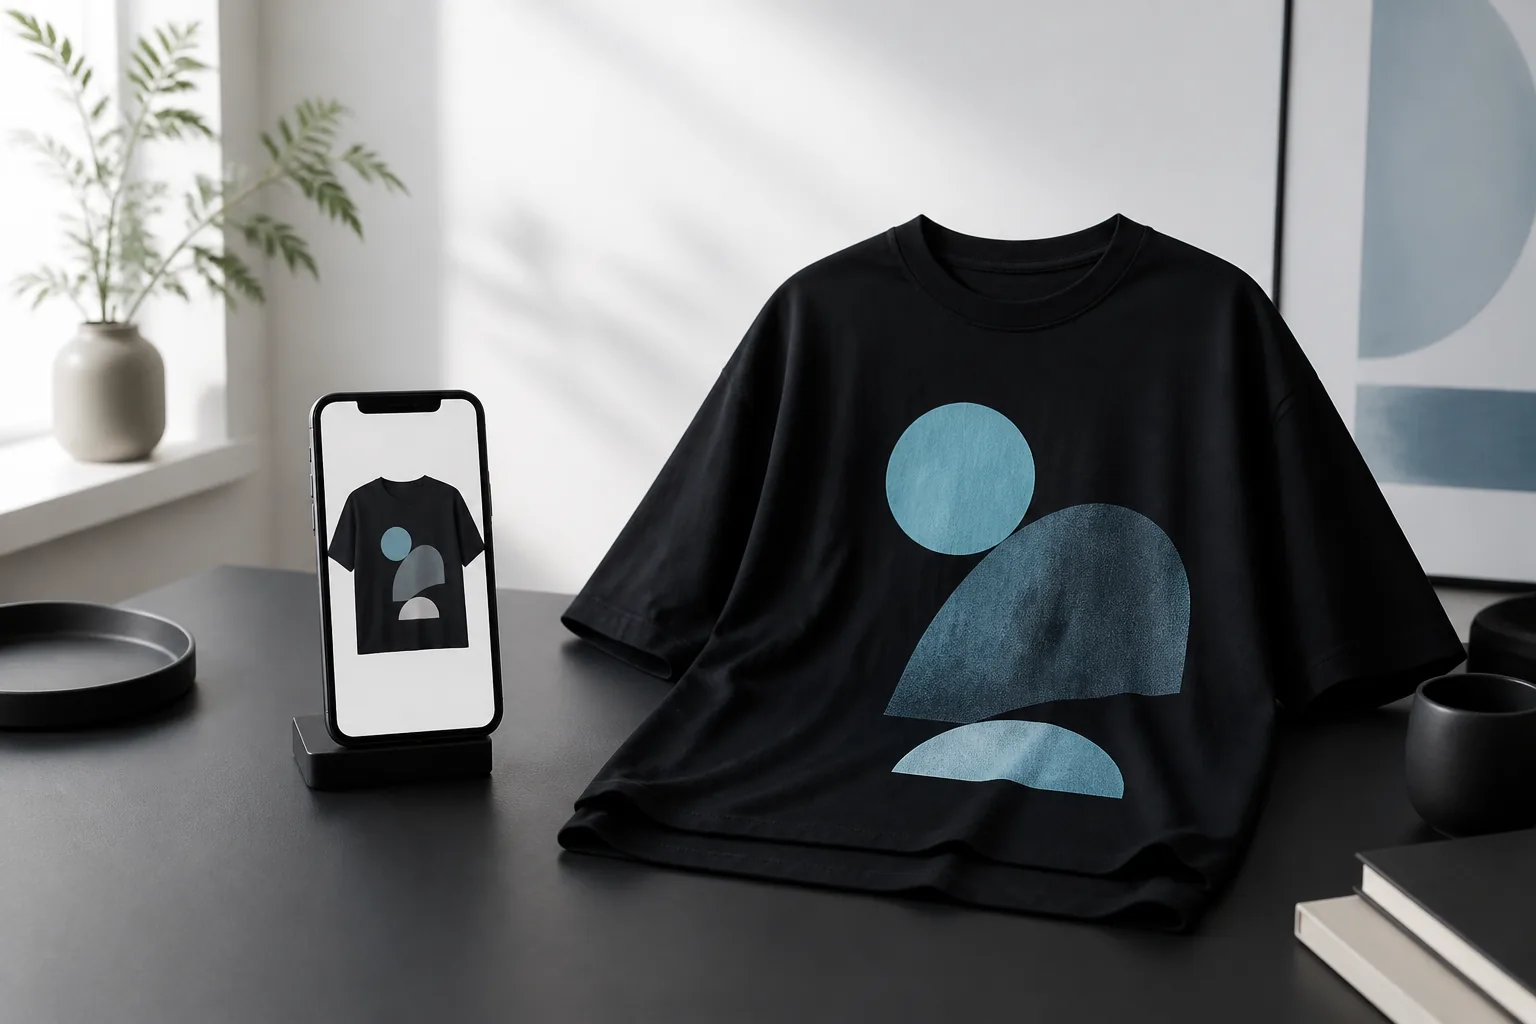
You can make a 3D T-shirt mockup without desktop software by using a mobile garment editor. Choose a T-shirt, import finished artwork, adjust its placement, inspect the shirt in 3D, and export a presentation image. This approach is most useful when the artwork already exists and the main questions are placement, garment color, viewing angle, and background.
A focused mobile workflow is not a full replacement for every desktop task. It does not remove the need for vector editing, detailed photo retouching, print separations, or manufacturer-ready specifications. It reduces the setup needed to review how a design reads on a garment.
Decide whether a mobile workflow fits the task
Use a mobile mockup when you need a fast visual review, a collection comparison, or a clear image to discuss with a collaborator. It is also practical when you are away from a workstation and want to test an idea using artwork stored on the device.
Use desktop software when you need to redraw the artwork, control advanced materials, build a custom 3D scene, retouch pixels precisely, or prepare complex production files. Choosing the smaller tool is useful only when it still answers the decision in front of you.
Complete the mobile mockup in a short sequence
Keep the source artwork ready in a common image format and make the design decision before adding presentation polish.
Choose a representative shirt
Select the silhouette closest to the intended concept. The model does not need to reproduce every construction detail, but its proportions should support a useful placement review.
Import the finished graphic
Use the cleanest available artwork file. Mobile mockup time is better spent judging placement than repairing a low-quality source.
Adjust placement with touch controls
Move, scale, and rotate the artwork. Make broad corrections first, then inspect the edges and spacing around the design.
Set one clear presentation
Choose a camera angle, light, and background that explain the concept. Export the image and keep the original artwork separate.
Avoid rebuilding a desktop workflow on a phone
Do not add steps simply because a larger application offers them. A mockup needs enough control to communicate the design, not every possible material, camera, or rendering option. More controls can slow the review and make it harder to identify which decision improved the result.
Save variations only when they answer a comparison, such as black versus white fabric or centered versus high placement. Name or group exports outside the mockup if you need a formal approval trail. The visual itself should remain clean.
Know what to confirm after the mobile review
Before ordering or manufacturing, confirm the print dimensions, garment measurements, color mode, resolution, and printable area. Request a physical sample when material, ink, embroidery, or seam interaction could change the result.
The mobile mockup is successful when it helps you reject weak placement, compare a small set of options, or communicate a direction. It should shorten the visual decision, not pretend that production has already been solved.
Questions about this workflow
Do I need Blender or Photoshop to make a T-shirt mockup?
Not for a straightforward placement and presentation review. A mobile 3D editor can handle the garment view, artwork placement, scene, and export. Desktop tools remain useful for advanced artwork, rendering, and production preparation.
Can a phone mockup be used as a print file?
No. Treat the exported mockup as a visual reference. Send the original high-resolution artwork and the printer’s required measurements and color information for production.